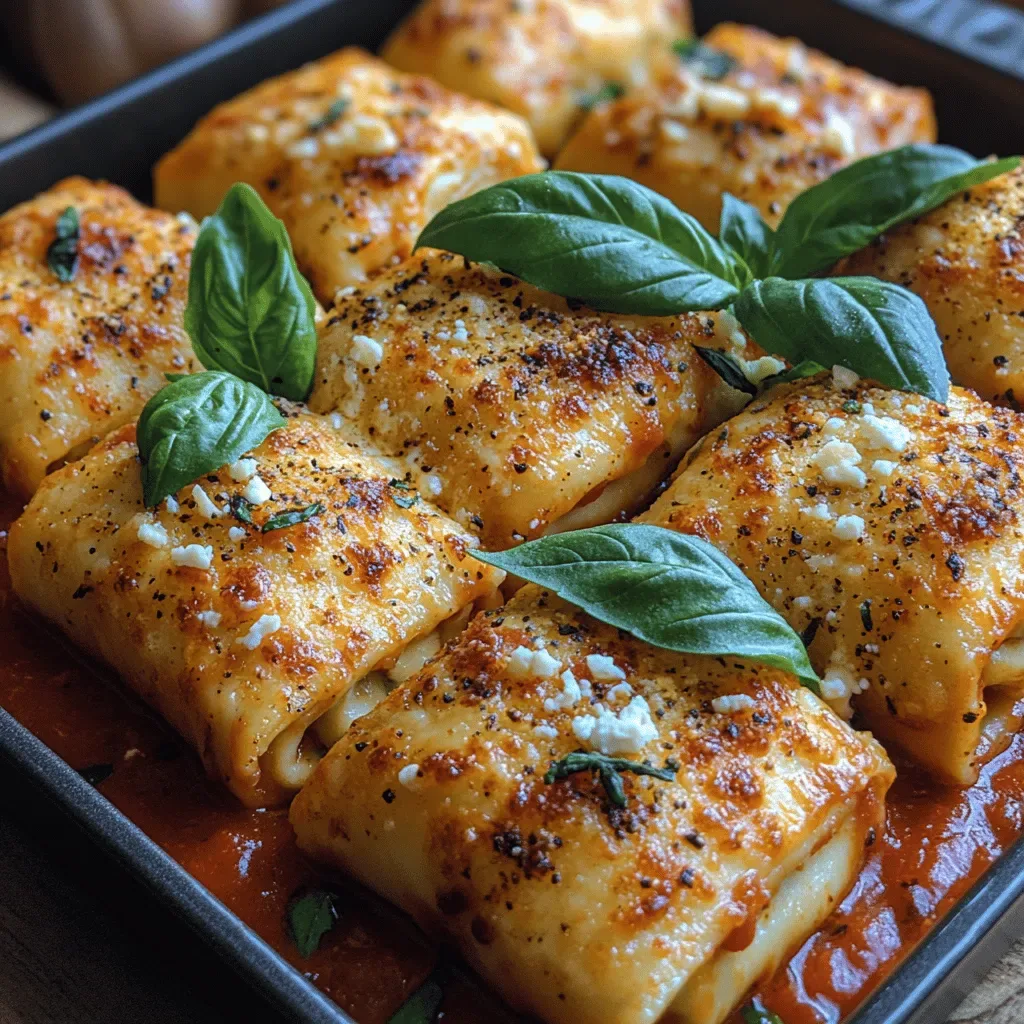
Imagine the salty tang of feta wrapped in a golden‑crisp pasta shell, baked until the edges snap and the interior stays luxuriously creamy. This marriage of textures creates a bite‑size masterpiece that feels both indulgent and surprisingly light.
What sets this dish apart is the contrast between the buttery, baked pasta and the bright, briny feta that melts just enough to coat each roll. A quick drizzle of olive oil, a sprinkle of herbs, and a touch of lemon zest turn simple pantry staples into a restaurant‑quality experience.
Busy families, casual entertaining, or a cozy weeknight dinner will all benefit from this crowd‑pleaser. Vegetarians and cheese lovers alike will gravitate to the bold flavors, while kids enjoy the fun, handheld shape.
The process is straightforward: boil the pasta sheets, roll them around a feta mixture, coat with seasoned breadcrumbs, then bake until crisp. In under an hour you’ll have a dish that looks as impressive as it tastes.
Why You'll Love This Recipe
Texture Play: The crisped pasta exterior gives a satisfying snap, while the feta core stays soft and creamy, delivering a delightful contrast in every bite.
Speedy Assembly: With only three main steps—boil, roll, bake—the recipe fits perfectly into a busy schedule without sacrificing flavor.
Elegant Presentation: The golden rolls look polished on any platter, making them ideal for dinner parties or family meals where visual appeal matters.
Versatile Flavor Base: The simple feta‑herb mixture can be tweaked with spices, citrus, or nuts, allowing endless personalization.
Ingredients
Fresh, high‑quality components are the heart of this recipe. The pasta sheets act as a neutral canvas that crisps beautifully, while feta provides a salty, tangy core. Olive oil, lemon zest, and herbs lift the flavor, and a light breadcrumb coating adds crunch without overwhelming the delicate cheese.
Main Ingredients
- 8 sheets fresh lasagna pasta (or wide egg noodles)
- 200 g (7 oz) block feta cheese, crumbled
- 2 tablespoons extra‑virgin olive oil
Seasonings & Sauce
- 1 teaspoon lemon zest
- 1 clove garlic, minced
- 2 tablespoons fresh basil, chopped
Breadcrumb Coating
- ½ cup panko breadcrumbs
- ¼ cup grated Parmesan cheese
- ¼ teaspoon red‑pepper flakes (optional)
The panko and Parmesan create a light, golden crust that stays crisp even after the cheese softens inside. Lemon zest and garlic add brightness and depth, while fresh basil contributes a fragrant finish. Together these ingredients balance richness with freshness, ensuring each roll delivers a layered taste experience.
Step-by-Step Instructions
Preparing the Pasta Sheets
Bring a large pot of salted water to a rolling boil. Drop the lasagna sheets in and cook for 2‑3 minutes, just until pliable but still firm. Drain and rinse under cold water to stop cooking; this prevents the sheets from becoming gummy when you roll them later.
Assembling the Feta Rolls
In a mixing bowl, combine the crumbled feta, olive oil, lemon zest, minced garlic, and chopped basil. Mix until a cohesive, slightly creamy paste forms. Lay a pasta sheet flat, spread a thin line of the feta mixture along the center, then roll tightly. Repeat with all sheets, securing the ends with a dab of water.
Coating and Baking
Combine panko, Parmesan, and red‑pepper flakes in a shallow dish. Lightly brush each roll with a little olive oil, then roll them in the breadcrumb mixture, ensuring an even coating. Place the rolls on a parchment‑lined baking sheet, spacing them a couple of centimeters apart.
- Preheat the Oven. Set your oven to 400°F (200°C) and let it fully heat for at least 10 minutes. A hot oven guarantees that the breadcrumbs turn golden quickly while the interior stays moist.
- Bake the Rolls. Slide the sheet into the oven and bake for 12‑15 minutes, watching for a deep amber color. The edges should be crisp and the cheese inside just beginning to melt.
- Check for Doneness. Insert a thin skewer into the center of a roll; it should meet only soft cheese and no raw pasta. If the crust looks pale, give the rolls an extra 2‑3 minutes.
- Rest Before Serving. Remove the rolls from the oven and let them sit for 3‑4 minutes. This short rest lets the cheese settle, preventing it from spilling out when sliced.
Tips & Tricks
Perfecting the Recipe
Don’t Over‑cook Pasta. Keep the sheets just al dente; they will finish cooking in the oven, and over‑cooking leads to soggy rolls.
Even Breadcrumb Layer. Lightly press the coating onto each roll so it adheres without clumping, ensuring uniform crunch.
Room‑Temperature Feta. Let the cheese sit out for 10 minutes before mixing; it blends more smoothly with oil and herbs.
Flavor Enhancements
Add a splash of white wine to the feta mixture for subtle acidity, or fold in toasted pine nuts for an extra bite. A drizzle of honey right after baking balances the salt with a hint of sweetness.
Common Mistakes to Avoid
Skipping the brief rest period lets steam escape too quickly, making the rolls fall apart. Also, avoid using too much oil on the breadcrumbs; excess oil can sog the coating rather than crisp it.
Pro Tips
Use a Light Hand with Salt. Feta is already salty; season the breadcrumb mix lightly to keep flavors balanced.
Finish with Fresh Herbs. Sprinkle additional chopped basil or flat‑leaf parsley just before serving for a burst of color and aroma.
Serve Hot. The rolls are at their crispiest within the first 10 minutes after leaving the oven; plan your timing accordingly.
Variations
Ingredient Swaps
Replace feta with goat cheese for a milder tang, or use a blend of ricotta and Parmesan for a creamier interior. Swap panko for crushed cornflakes to add extra crunch, and experiment with herbs like oregano or thyme for different aromatic profiles.
Dietary Adjustments
For gluten‑free diners, use certified gluten‑free pasta and substitute panko with gluten‑free breadcrumbs. Vegans can replace feta with a firm tofu block marinated in lemon juice and nutritional yeast, and use olive oil in place of butter throughout.
Serving Suggestions
Pair the rolls with a light arugula salad dressed in lemon‑olive oil, or serve alongside roasted cherry tomatoes for extra acidity. A side of herbed quinoa or buttery garlic bread makes the meal more filling without stealing the spotlight.
Storage Info
Leftover Storage
Allow any leftovers to cool completely, then place the rolls in an airtight container. Refrigerate for up to 3 days. For longer keeping, freeze individually wrapped rolls in a zip‑top bag; they’ll retain quality for up to 2 months.
Reheating Instructions
Reheat refrigerated rolls in a pre‑heated 350°F (175°C) oven for 8‑10 minutes, covered with foil to prevent drying. For frozen rolls, add 5 minutes to the time. A quick microwave burst works in a pinch, but the oven preserves the crisp breadcrumb texture best.
Frequently Asked Questions
This crispy baked feta pasta roll combines bright, tangy cheese with a crunchy, golden crust, delivering a satisfying bite every time. The step‑by‑step guide, storage tips, and versatile variations ensure you can master it quickly and adapt it to any palate. Feel free to experiment with herbs, spices, or alternative cheeses—cooking is your playground. Serve hot, share generously, and enjoy the delicious simplicity of this culinary delight!


