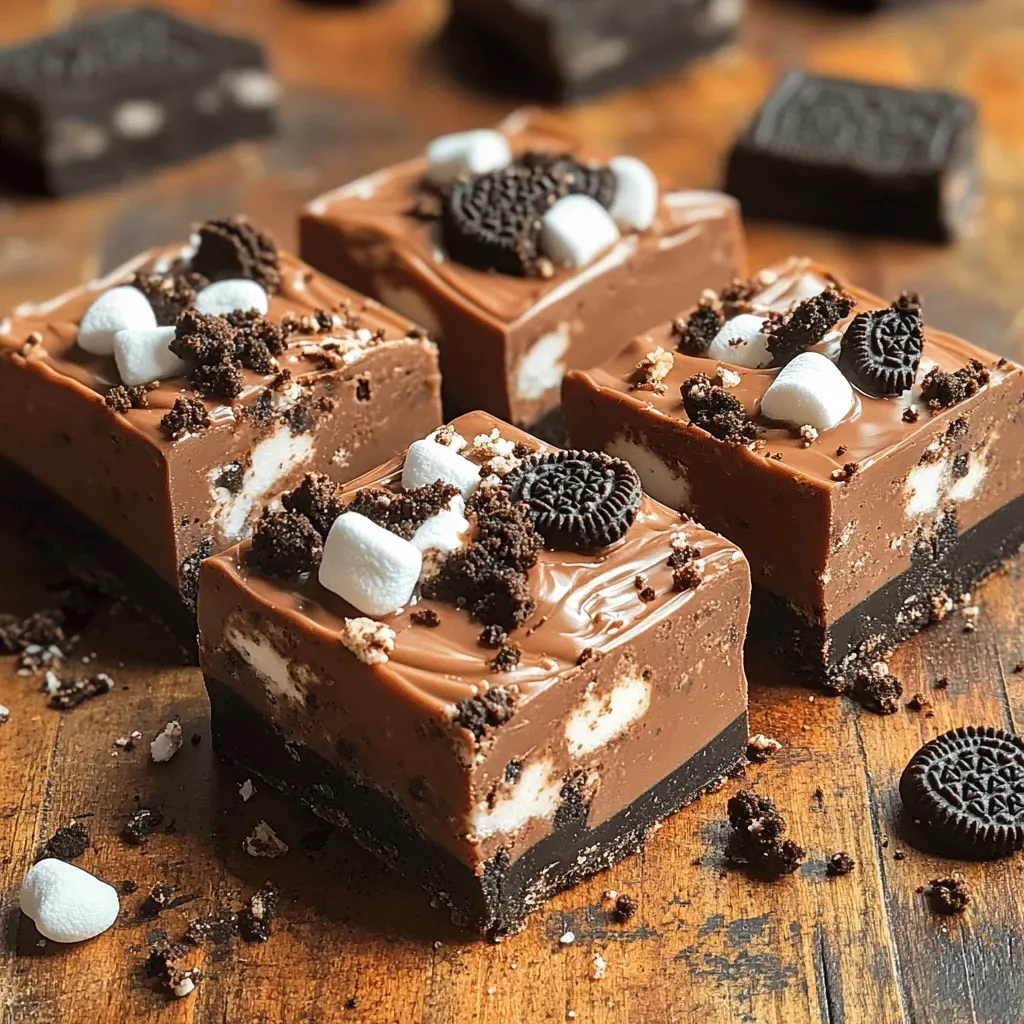
Imagine a bite that melts on your tongue, delivering the perfect balance of creamy chocolate and crunchy cookie. Decadent Oreo Fudge Squares capture that dream, turning a classic sandwich cookie into an indulgent, melt‑in‑your‑mouth treat that feels both familiar and luxuriously new.
What makes this recipe stand out is the layered texture: a silky chocolate‑butter base, a generous swirl of crushed Oreos, and a glossy, buttery finish that shines like a confectionery masterpiece. Each component is carefully balanced so the flavor never overwhelms, but instead builds into a harmonious whole.
This dessert is destined for anyone with a sweet tooth—kids, teens, and adults alike. Serve it at birthday parties, holiday gatherings, or as a special after‑dinner surprise when you want to impress without spending hours in the kitchen.
The process is straightforward: melt the chocolates and butter, blend in the cream and condensed milk, fold in crushed Oreos, pour into a pan, chill, and finish with a sprinkle of cookie crumbs. In under an hour you’ll have a glossy slab ready to cut into perfect squares.
Why You'll Love This Recipe
Instant Crowd‑Pleaser: The beloved Oreo flavor paired with rich chocolate makes these squares a guaranteed hit at any gathering, pleasing both kids and adults alike.
Minimal Equipment: All you need is a saucepan, a mixing bowl, and a baking pan—no fancy gadgets, just simple kitchen staples.
Make‑Ahead Friendly: Once chilled, the fudge keeps well, allowing you to prepare it a day ahead and free up time for other party prep.
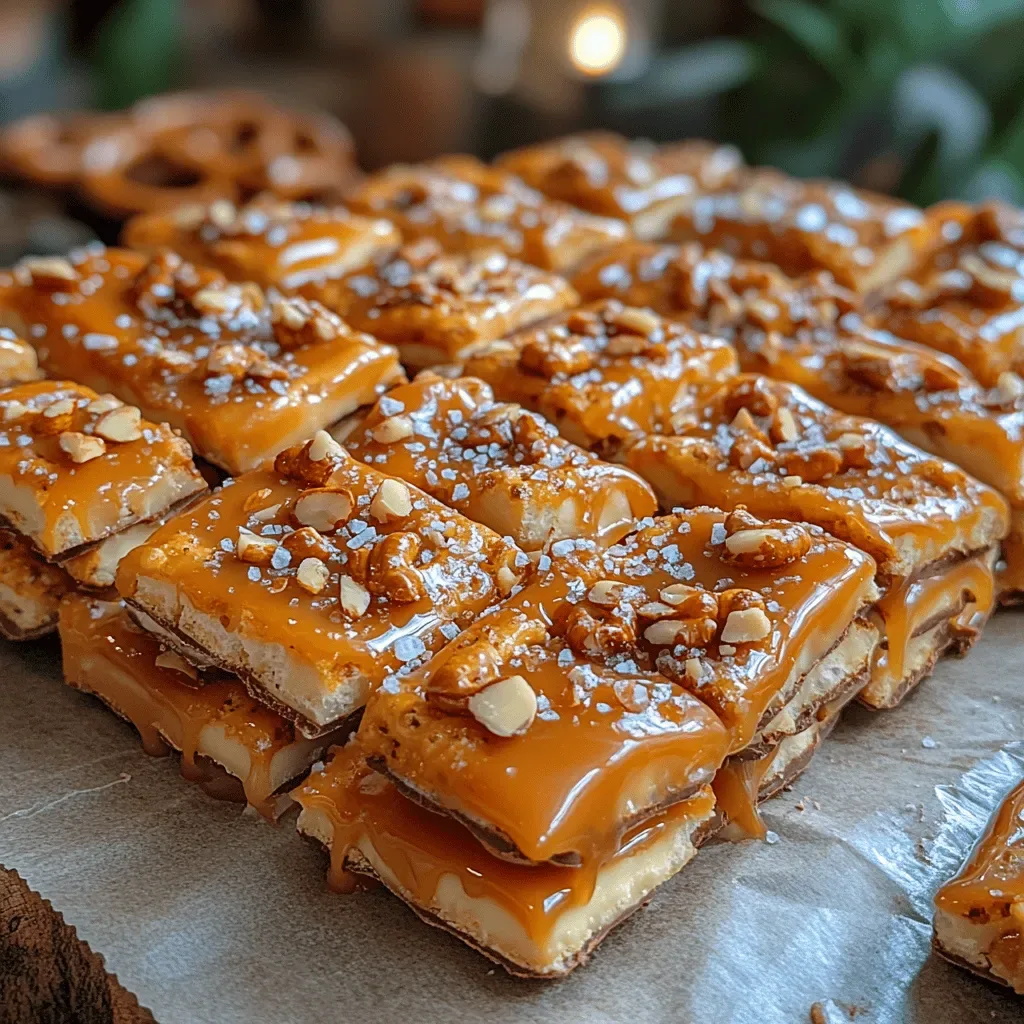
Customizable Layers: You can switch up the cookie crumble, add a drizzle of caramel, or sprinkle sea salt for an elevated flavor twist.
Ingredients
The magic of these fudge squares lies in the harmony between rich chocolate, silky cream, and the unmistakable crunch of Oreo cookies. Heavy cream and sweetened condensed milk create a luscious base, while three types of chocolate provide depth and glossy sheen. Crushed Oreos deliver texture, and a final sprinkle of cookie pieces adds a decorative finish that looks as good as it tastes.
Fudge Base
- 2 cups heavy whipping cream
- 1 (14‑oz) can sweetened condensed milk
- 1/2 cup unsalted butter, cubed
- 1 cup semi‑sweet chocolate chips
- 1 cup milk chocolate chips
- 1 cup white chocolate chips
- 1 tsp pure vanilla extract
- 1/4 tsp fine sea salt
Cookie Layers
- 20 Oreo cookies, coarsely crushed
- 1/2 cup Oreo crumbs (for topping)
The combination of three chocolate varieties ensures a complex, buttery mouthfeel while the condensed milk adds just enough sweetness without becoming cloying. Butter contributes silkiness, and the vanilla‑salt duo brightens the overall flavor profile. Crushed Oreos interspersed throughout the fudge give each bite a satisfying crunch, and the final crumb topping adds visual appeal and an extra textural surprise.
Step-by-Step Instructions
Preparing the Ingredients
Begin by measuring all of your chocolate chips, butter, and cream. Line a 9‑inch square baking pan with parchment paper, allowing excess to hang over the sides for easy removal later. Coarsely crush the Oreo cookies on a cutting board; you want a mix of small crumbs and larger chunks for texture.
Melting the Chocolate Base
- Combine dairy. In a medium saucepan over low heat, whisk together the heavy cream, sweetened condensed milk, and butter. Heat gently until the butter fully melts and the mixture is smooth, about 3‑4 minutes. This low temperature prevents scorching and creates a uniform base.
- Incorporate chocolates. Reduce the heat to the lowest setting and add the semi‑sweet, milk, and white chocolate chips. Stir constantly until every chip has melted and the mixture is glossy. You’ll notice the mixture thickening slightly; this is a sign the fats are fully emulsified.
- Season. Remove the pan from the heat and stir in vanilla extract, sea salt, and a pinch of extra crushed Oreo for hidden pockets of crunch. Allow the mixture to cool for 2‑3 minutes so it’s warm but not hot to the touch.
Assembling the Fudge
- Layer the base. Pour half of the chocolate mixture into the prepared pan, spreading it evenly with a spatula. The surface should be smooth and slightly glossy.
- Add Oreo crunch. Sprinkle half of the coarsely crushed Oreos over the chocolate layer. Gently press the crumbs into the surface so they embed without sinking.
- Second chocolate layer. Pour the remaining chocolate mixture over the Oreo crumbs, smoothing the top once more. This creates a marbled effect when the crumbs settle.
- Top with crumbs. Evenly distribute the Oreo crumb topping across the very surface. This final layer will stay crisp after chilling and adds visual contrast.
- Chill. Place the pan in the refrigerator for at least 2 hours, or until the fudge is firm enough to cut cleanly. For a faster set, you can chill for 45 minutes in a freezer, but keep an eye on it to avoid freezer burn.
Finishing Touches
Once fully set, lift the fudge out using the parchment overhang and place on a cutting board. Using a sharp, warm knife (dip the blade in hot water and wipe dry), cut the slab into 12 even squares. Serve at room temperature for the softest bite, or keep chilled for a firmer texture.
Tips & Tricks
Perfecting the Recipe
Low‑heat melt. Keep the saucepan on low heat while melting chocolate; high heat can cause the chocolate to seize, resulting in a grainy texture.
Even crumb distribution. Toss the crushed Oreos with a tiny drizzle of melted butter before sprinkling; this helps the crumbs stay suspended and prevents them from sinking.
Warm cutting blade. Warm the knife between cuts to achieve clean slices without dragging crumbs across the surface.
Chill thoroughly. Allow the fudge to set for at least 2 hours; premature cutting leads to crumbling and uneven squares.
Flavor Enhancements
For an extra layer of sophistication, drizzle a thin ribbon of salted caramel over the top before chilling. A pinch of espresso powder mixed into the chocolate base intensifies the cocoa flavor without adding bitterness. If you love a salty‑sweet contrast, sprinkle flaky sea salt on the final crumb topping just before serving.
Common Mistakes to Avoid
Avoid overheating the chocolate; it will become grainy and lose its glossy shine. Also, don’t skip the cooling step for the cream‑butter mixture—adding crushed Oreos to a hot base can melt them, eliminating the desired crunch. Finally, be sure to use parchment paper; without it the fudge can stick to the pan and tear when you lift it out.
Pro Tips
Use high‑quality chocolate. Premium chocolate chips melt smoother and deliver a richer flavor than generic brands.
Room‑temperature cream. Warm the heavy cream slightly before adding it to the pan; this speeds up the melting process and reduces the risk of scorching.
Seal for storage. Wrap the cooled fudge tightly in plastic wrap before placing it in an airtight container; this prevents it from absorbing fridge odors.
Flavor infusion. Add a split vanilla bean to the cream mixture while heating, then remove before adding chocolate for an extra aromatic note.
Variations
Ingredient Swaps
Swap the white chocolate for caramel chips for a buttery‑toffee twist, or replace the semi‑sweet chips with dark chocolate (70% cacao) for a more intense cocoa profile. For a nutty crunch, fold in toasted chopped hazelnuts or almonds alongside the Oreo crumbs. Each substitution changes the flavor balance while keeping the core indulgent texture intact.
Dietary Adjustments
To make the fudge dairy‑free, use coconut cream and a plant‑based butter substitute, and choose dairy‑free chocolate chips. For a lower‑sugar version, replace sweetened condensed milk with a sugar‑free condensed milk alternative and use sugar‑free chocolate chips. Gluten isn’t an issue here, but be sure any added mix‑ins (like cookie crumbs) are certified gluten‑free if needed.
Serving Suggestions
Pair each square with a dollop of lightly sweetened whipped cream or a scoop of vanilla bean ice cream for contrast. A drizzle of raspberry coulis adds a bright, fruity counterpoint. For a festive presentation, dust the top with edible gold leaf or sprinkle crushed peppermint candies during the holiday season.
Storage Info
Leftover Storage
Allow any remaining fudge to cool to room temperature, then wrap the entire slab tightly in plastic wrap before placing it in an airtight container. Store in the refrigerator for up to 5 days. For longer keeping, portion the squares, wrap each individually, and freeze for up to 3 months; this prevents freezer burn and keeps flavors fresh.
Reheating Instructions
To enjoy a chilled square at room temperature, simply let it sit on the counter for 15‑20 minutes. If you prefer a softer, melt‑in‑your‑mouth texture, warm a single piece in the microwave on low power (30‑40%) for 10‑12 seconds, checking frequently. Alternatively, place the slab in a 300°F oven for 5‑7 minutes, covered with foil, to gently soften without melting the chocolate.
Frequently Asked Questions
This Decadent Oreo Fudge Square recipe delivers a luxurious blend of creamy chocolate and crunchy cookie in a surprisingly simple process. From selecting premium chocolates to mastering the chilling step, every detail is covered to guarantee success. Feel free to experiment with swaps, toppings, or presentation—dessert making is all about personal flair. Slice, serve, and savor every indulgent bite!