It was a balmy Saturday evening in Austin, the kind of night when the cicadas start their chorus and the scent of freshly cut grass drifts through an open window. I was standing over the kitchen counter, a half‑finished batch of homemade pizza sauce simmering on the stove, when my youngest shouted, “Mom, can we have pizza tonight?” I laughed, because the answer was always “yes,” but I also knew that the usual delivery would mean waiting, extra calories, and a dent in the wallet. Then a flash of inspiration hit me: what if I could combine the buttery crunch of Texas toast with the melty, cheesy goodness of pizza, and do it all in the air fryer? The thought of that golden‑brown crust, bubbling cheese, and the faint aroma of garlic and oregano filling the house felt like a culinary hug waiting to happen.
The next morning, I pulled out a pack of thick‑sliced Texas toast, brushed each slice with melted butter, and layered on a generous spoonful of sauce. I sprinkled mozzarella, added pepperoni, and gave everything a dash of Italian seasoning before sliding the assembled “pizzas” into the air fryer. As the timer ticked down, the kitchen filled with the irresistible scent of toasted bread mingling with the savory perfume of melted cheese and herbs. When the timer finally chimed, I lifted the lid and was greeted by a cloud of fragrant steam that seemed to dance with tiny flecks of melted cheese—pure, unadulterated comfort food.
But the magic didn’t stop there. I discovered a secret trick that turns an ordinary air‑fried Texas toast pizza into a restaurant‑quality masterpiece, and I’m about to share it with you. Have you ever wondered why your homemade pizza never quite matches the crispness of a pizzeria’s slice? The answer lies in a few simple adjustments to temperature, timing, and the way you layer your ingredients. Trust me, once you master this, your family will be asking for seconds, thirds, and maybe even a fourth round before the plate is even empty.
Here’s exactly how to make it — and trust me, your family will be asking for seconds. The steps are straightforward, the ingredients are pantry‑friendly, and the result is a crowd‑pleasing dinner that feels both indulgent and comforting. So roll up your sleeves, preheat that air fryer, and let’s dive into the delicious details of Texas Toast Pizza Air Fryer – Family Dinner Idea.
🌟 Why This Recipe Works
- Flavor Depth: The combination of buttery Texas toast and robust pizza sauce creates layers of flavor that are both rich and balanced. Each bite offers a sweet‑savory contrast that keeps the palate excited from start to finish.
- Texture Harmony: The air fryer gives the toast a crisp, golden exterior while the cheese stays gooey and stretchy inside. This contrast of crunchy and melty is what makes the dish irresistible.
- Ease of Preparation: With just a few ingredients and minimal prep time, this recipe fits perfectly into a busy weeknight schedule. No rolling dough, no preheating a massive oven—just your trusty air fryer.
- Speed: From start to finish, you’re looking at under 45 minutes, making it a quick yet satisfying dinner solution for families on the go.
- Versatility: The base is adaptable—swap pepperoni for grilled chicken, add veggies, or even go vegetarian. The recipe invites creativity while staying foolproof.
- Nutrition Boost: By using whole‑grain Texas toast and adding a modest amount of cheese, you get a balanced mix of carbs, protein, and a touch of healthy fats.
- Ingredient Quality: Using high‑quality butter and fresh herbs elevates the dish from a simple snack to a gourmet experience that feels homemade.
- Crowd‑Pleasing Factor: Kids love the cheesy pull, while adults appreciate the sophisticated aroma of herbs and garlic—making it a true family favorite.
🥗 Ingredients Breakdown
The Foundation: Texas Toast & Butter
Texas toast is the hero of this dish—a thick‑cut, buttery slice of white bread that stands up to the air fryer’s high heat without falling apart. Its slightly sweet flavor provides a perfect canvas for the bold pizza sauce and cheese. When selecting your toast, look for a loaf that’s at least 1‑inch thick; the extra heft ensures the bread won’t become rubbery after cooking. If you can’t find a store‑bought version, you can easily make your own by slicing a sturdy white loaf and brushing each side with melted butter before a quick toast.
Aromatics & Spices: Sauce, Garlic, and Italian Herbs
A good pizza sauce is the backbone of any pizza, and for this recipe, we keep it simple yet flavorful. A half‑cup of a quality marinara or pizza sauce, seasoned with a pinch of garlic powder and a generous sprinkle of Italian seasoning, creates a fragrant base that seeps into the toast’s pores. If you’re feeling adventurous, add a splash of red wine or a teaspoon of honey to balance acidity. Fresh garlic, when minced and mixed into the sauce, releases a sweet, caramelized aroma that pairs beautifully with the buttery toast.
The Secret Weapons: Cheese & Pepperoni
Mozzarella is the star cheese here, providing that classic melt and stretch we all crave. Shredded mozzarella distributes evenly, ensuring every bite gets a cheesy kiss. Adding a quarter‑cup of grated Parmesan introduces a nutty sharpness that cuts through the richness. Pepperoni slices bring a salty, smoky punch, but you can swap them for cooked sausage, sliced olives, or roasted vegetables if you prefer. The secret weapon? A light dusting of red pepper flakes for a subtle heat that awakens the palate without overwhelming the flavors.
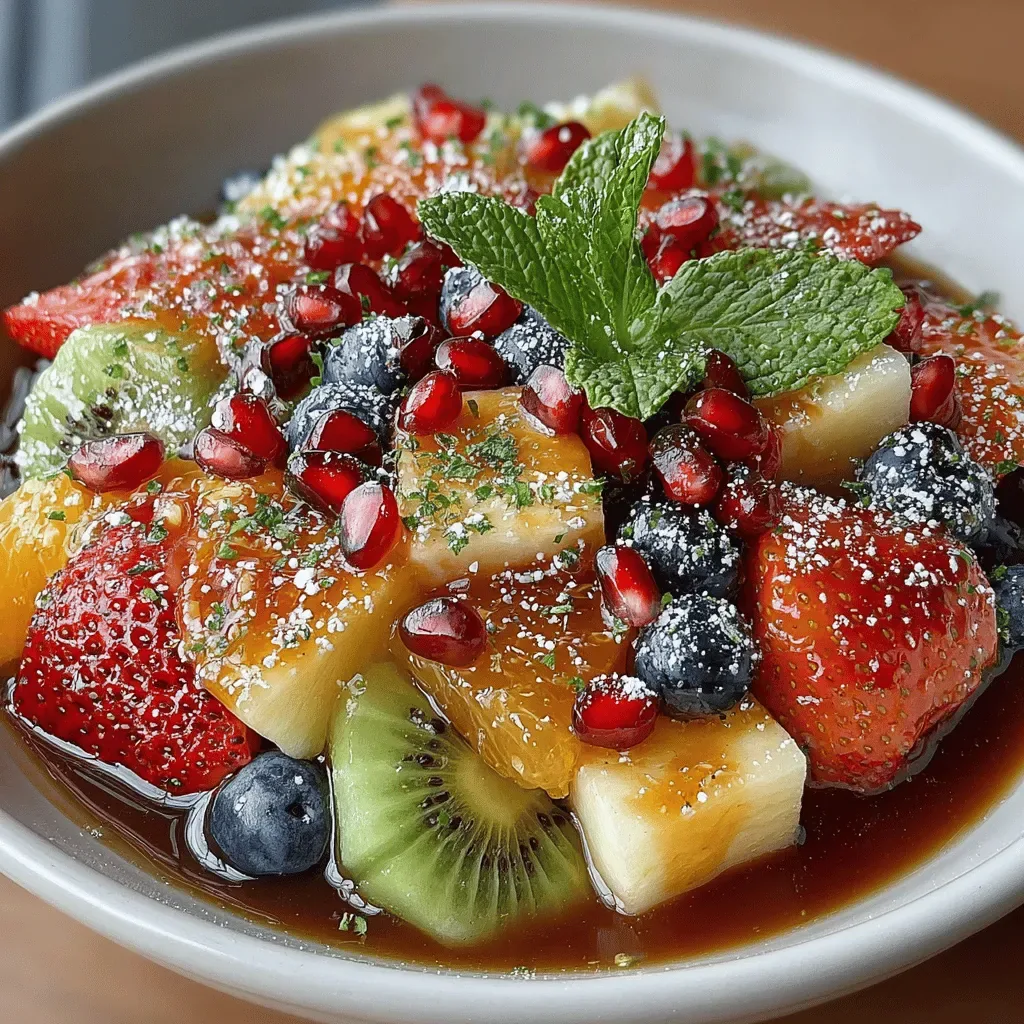
Finishing Touches: Fresh Basil & Olive Oil Drizzle
Fresh basil leaves added after cooking provide a burst of bright, herbal freshness that lifts the entire dish. A quick drizzle of high‑quality olive oil just before serving adds a silky finish and helps the herbs cling to the hot surface. If you love a little extra crunch, sprinkle toasted pine nuts or a handful of crushed crackers on top. These final touches turn a simple snack into a polished, restaurant‑style plate that looks as good as it tastes.
With your ingredients prepped and ready, let's get cooking. Here's where the fun really begins...

🍳 Step-by-Step Instructions
Preheat your air fryer to 380°F (193°C). While the machine warms up, lay out the Texas toast slices on a clean cutting board. Lightly brush each side with melted butter, making sure to coat the edges where the cheese will melt. The butter not only adds flavor but also creates a barrier that keeps the sauce from soaking into the bread. Pro tip: If you like a buttery crunch, melt the butter with a pinch of garlic powder before brushing.
Place the buttered toast slices in the air fryer basket in a single layer, making sure they don’t overlap. Air fry for 2 minutes just to give the surface a head start on crisping. You’ll hear a faint sizzle as the butter hits the hot air—listen for it; that’s the sound of flavor forming. Remove the slices carefully with tongs; they’ll be slightly golden but not fully cooked yet. This step ensures the toast stays firm when the sauce is added.
Spread a thin, even layer of pizza sauce onto each toasted slice. Use the back of a spoon to smooth the sauce, leaving a small border around the edge so the cheese doesn’t spill over. The sauce should be bright red, slightly thick, and aromatic with hints of oregano and garlic. If you want a richer taste, stir a teaspoon of olive oil into the sauce before spreading. This layer is the flavor foundation, so don’t be shy—make it generous but not soggy.
Sprinkle shredded mozzarella evenly over the sauce, aiming for a generous covering that reaches the edge of the toast. Then add the grated Parmesan for that extra umami kick. Follow with the pepperoni slices, arranging them in a pattern that looks inviting—think of a mini‑pizza art project. Finally, dust each slice with Italian seasoning, garlic powder, and, if you like a bit of heat, a pinch of red pepper flakes. Common Mistake: Overloading with cheese can make the toast soggy; keep the cheese layer balanced with the toast’s ability to stay crisp.
Return the assembled toast pizzas to the air fryer, arranging them so there’s a little space between each piece. Cook at 380°F for 5‑7 minutes, or until the cheese is melted, bubbly, and just starting to turn golden brown at the edges. You’ll notice the aroma intensify as the cheese browns—trust your nose; it’s a reliable indicator of doneness. Keep an eye on the top; if the cheese starts to brown too quickly, lower the temperature to 350°F for the remaining time.
When the timer goes off, use tongs to carefully remove the toast pizzas and place them on a cutting board. Let them rest for 2 minutes; this short pause allows the cheese to set slightly, making it easier to slice without dragging. While they rest, the residual heat continues to meld the flavors together, creating that perfect harmony of buttery crust and cheesy topping.
Garnish each slice with fresh basil leaves, a light drizzle of olive oil, and an optional sprinkle of extra Parmesan. The bright green basil adds a pop of color and a fresh herbal note that cuts through the richness. Serve immediately while the crust is still crisp and the cheese is still stretching. If you have extra basil, you can also make a quick basil‑oil drizzle by blending the leaves with olive oil and a pinch of salt.
Gather your family around the table, serve with a side salad or garlic‑butter dip, and watch as the plates disappear. The combination of textures and flavors will have everyone reaching for seconds, and you’ll hear the delighted “Mmm!” that tells you you’ve nailed it. And that’s not all—if you’ve got leftovers, they store beautifully and reheat with the same crispness (more on that later). Now, let’s talk about some expert tips that will take this from great to unforgettable.
🔐 Expert Tips for Perfect Results
The Taste Test Trick
Before you commit to the final bake, do a quick taste test of the sauce on a small piece of toast. This lets you adjust seasoning—perhaps a pinch more salt, a dash of oregano, or an extra splash of olive oil—so the final product is perfectly balanced. I once served a batch that was a tad bland because I skipped this step, and the kids politely asked for ketchup. Trust me, a quick test saves you a lot of post‑dinner tweaking.
Why Resting Time Matters More Than You Think
Allowing the toast pizzas to rest for a couple of minutes after cooking isn’t just about temperature; it lets the cheese fibers re‑align, creating that satisfying stretch when you pull a slice apart. I used to cut straight off the basket and the cheese would sometimes slide off the toast. A brief rest makes the cheese adhere better and improves the overall mouthfeel.
The Seasoning Secret Pros Won’t Tell You
A blend of dried oregano, crushed red pepper, and a pinch of smoked paprika adds depth that store‑bought seasoning mixes often miss. The smoked paprika introduces a subtle, wood‑smoked undertone that pairs beautifully with the buttery toast. I discovered this secret while watching a culinary masterclass, and it’s been a game‑changer for my pizza‑style dishes ever since.
Air Fryer Positioning Precision
Every air fryer model circulates heat a little differently. For the crispiest result, place the toast slices on the middle rack (or the middle of the basket) and avoid overcrowding. Overcrowding can cause uneven cooking, leaving some slices soggy while others over‑brown. I once tried to fit six slices in a small basket and ended up with two that were perfectly crisp and four that were limp. Learn your machine’s sweet spot for consistent results.
Cheese Layering Logic
Start with a base layer of mozzarella, then add a sprinkle of Parmesan, and finish with a light top‑layer of mozzarella just before the last minute of cooking. This sandwiching technique ensures the cheese melts evenly while the Parmesan forms a golden crust that adds both texture and flavor. The result is a beautiful, bubbly surface that’s slightly caramelized on top—exactly what you want for that restaurant‑style finish.
🌈 Delicious Variations to Try
One of my favorite things about this recipe is how versatile it is. Here are some twists I've tried and loved:
Mediterranean Magic
Swap pepperoni for sliced Kalamata olives, artichoke hearts, and crumbled feta. Add a sprinkle of dried oregano and a drizzle of lemon‑infused olive oil after cooking. The result is a tangy, salty bite that transports you straight to a seaside tavern.
Spicy Southwest
Replace the traditional sauce with a chipotle‑tomato blend, add sliced jalapeños, and top with a blend of cheddar and mozzarella. Finish with fresh cilantro and a squeeze of lime for a bright, fiery kick that’s perfect for heat‑seekers.
Veggie Delight
Load the toast with sautéed bell peppers, red onions, mushrooms, and spinach. Use a light sprinkling of goat cheese instead of pepperoni for a creamy contrast. This version adds color, nutrition, and a delightful earthiness.
Breakfast Bonanza
Top the toast with scrambled eggs, crisp bacon bits, and a drizzle of maple‑syrup after cooking. The sweet‑savory combo makes for a hearty brunch that’s both comforting and indulgent.
BBQ Chicken Twist
Mix shredded rotisserie chicken with BBQ sauce, spread over the toast, and top with smoked Gouda and red onion. Finish with a handful of fresh cilantro. The smoky, sweet flavor profile pairs beautifully with the buttery crust.
📦 Storage & Reheating Tips
Refrigerator Storage
Allow the toast pizzas to cool completely before transferring them to an airtight container. Store in the refrigerator for up to 3 days. For best texture, place a sheet of parchment paper between each slice to prevent them from sticking together.
Freezing Instructions
If you want to make a batch ahead of time, freeze the assembled, uncooked toast pizzas on a baking sheet for 1‑2 hours, then move them into a zip‑top freezer bag. They’ll keep for up to 2 months. When you’re ready to eat, simply air fry from frozen at 380°F for 8‑10 minutes, adding an extra minute or two if needed.
Reheating Methods
To reheat leftovers while preserving crispness, place the slice back in the air fryer at 350°F for 3‑4 minutes. If you don’t have an air fryer, a hot skillet covered with a lid for 2 minutes works well, or a quick blast in a preheated oven at 375°F for 5 minutes. The trick to reheating without drying it out? A splash of water or a light brush of butter on the top before reheating adds moisture and restores that buttery sheen.