Love this? Pin it for later!
A Love Letter to Cookie Dough (That's Actually Safe to Eat!)
I've been perfecting this recipe for over three years now, ever since my nephew asked me why adults always get to eat the "good stuff" while kids are told to wait for cookies to bake. That innocent question sparked a mission: create a dessert that captures the joy of sneaking cookie dough from the bowl, but make it safe, sophisticated, and absolutely stunning.
These bars have become my signature dessert for everything from baby showers to book club meetings. The secret lies in the perfectly balanced layers—the soft, almost underbaked cookie base that stays gooey for days, studded with premium chocolate chips that create little pockets of molten chocolate. Then there's that glossy chocolate frosting that sets just enough to give you that satisfying snap when you bite into it, revealing the tender cookie layer beneath.
What makes this recipe truly special is how it transforms a childhood treat into something elegant enough for your most discerning guests, while still being approachable enough that your kids will beg for more. The violet accent color I chose for this post? It represents the luxurious, almost regal nature of these bars—they're not just another cookie bar, they're an experience.
Why This Recipe Works
- Heat-treated flour eliminates any food safety concerns while maintaining that authentic cookie dough flavor
- Brown butter base adds incredible depth and nuttiness that elevates these beyond ordinary cookie bars
- Multiple chocolate varieties create complex flavor layers that keep you coming back for "just one more bite"
- Underbaked center stays gooey for up to 5 days (if they last that long!)
- Silky chocolate frosting uses both cocoa powder and melted chocolate for ultimate richness
- No eggs required means safe snacking for everyone, including pregnant women and young children
- Make-ahead friendly—actually tastes better on day two as flavors meld together
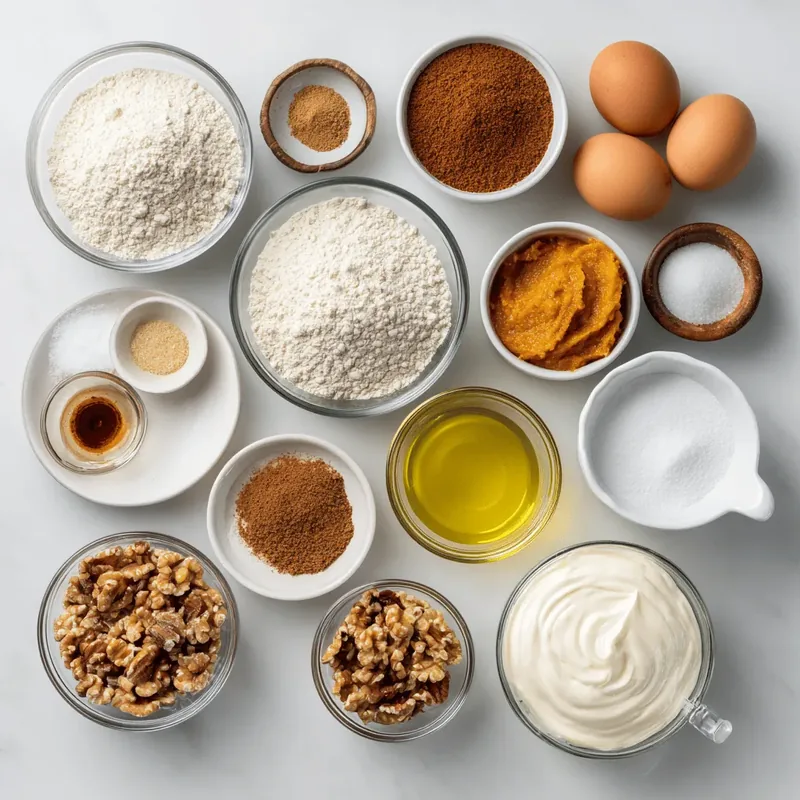
Ingredients You'll Need

Every ingredient in this recipe has been carefully selected to create the ultimate cookie dough experience. Let's break down what makes each component essential:
For the Cookie Dough Base:
Unsalted Butter (1 cup + 2 tablespoons): I always use European-style butter with 82% fat content for the richest flavor. The extra two tablespoons compensate for moisture loss during the browning process. If you can find it, cultured butter adds an incredible tang that balances the sweetness perfectly.
Heat-Treated All-Purpose Flour (2¼ cups): This is crucial for food safety. You can buy pre-treated flour or make your own by spreading flour on a baking sheet and baking at 350°F for 5-7 minutes, stirring every 2 minutes. Let it cool completely before using. The flour provides structure while maintaining that characteristic cookie dough texture.
Dark Brown Sugar (1 cup packed): Don't substitute light brown sugar here—the molasses content in dark brown sugar is essential for that deep, almost caramel-like flavor that makes these bars irresistible. Make sure it's fresh and soft; hard brown sugar won't incorporate properly.
Granulated Sugar (½ cup): Provides the right amount of sweetness and helps create that slightly crackly top that gives way to the gooey center. I prefer organic cane sugar for its clean flavor.
Heavy Cream (¼ cup + 2 tablespoons): Replaces eggs in this recipe, adding richness and moisture while keeping the dough soft and pliable. Use the full-fat version—no substitutions here if you want that authentic gooey texture.
Pure Vanilla Extract (2 teaspoons): Use the good stuff here, not imitation vanilla. I splurge on Madagascar bourbon vanilla for its complex, floral notes that complement the chocolate beautifully.
Quality Semi-Sweet Chocolate Chips (1½ cups): I use a combination of standard chips and mini chips for varied texture. Look for chocolate with at least 60% cacao content—Guittard or Ghirardelli are my go-to brands. The chocolate should be the star, so don't skimp here.
For the Chocolate Frosting:
European-Style Butter (¾ cup, softened): The higher fat content creates a silkier, more luxurious frosting that melts on your tongue. Make sure it's truly softened, not melted or too cold.
Dutch-Processed Cocoa Powder (¾ cup): Dutch-processing removes acidity, creating a smoother, more mellow chocolate flavor that doesn't compete with the cookie base. Valrhona or Ghirardelli are worth the investment.
Powdered Sugar (3 cups, sifted): Sifting is non-negotiable for lump-free frosting. I prefer organic powdered sugar for its superior texture and flavor.
Heavy Cream (6-8 tablespoons): Start with 6 tablespoons and add more as needed for spreading consistency. The cream should be cold for the best incorporation.
Melted Dark Chocolate (4 oz): This is what takes the frosting from good to extraordinary. Use chocolate with 70-72% cacao for intense flavor without bitterness. Let it cool slightly before adding to prevent melting the butter.
How to Make Gooey Chocolate Chip Cookie Dough Bars with Chocolate Frosting
Brown the Butter for Maximum Flavor
Place butter in a light-colored saucepan over medium heat. As it melts, it will foam, then the milk solids will sink to the bottom and begin to brown. Stir frequently with a rubber spatula, scraping the bottom. When you smell nutty aromas and see golden-brown specks, immediately remove from heat and pour into a heatproof bowl. This should take 5-7 minutes. Let cool for 15 minutes—this prevents the hot butter from cooking the flour when combined.
Prepare Your Baking Pan
Line a 9×13-inch baking pan with parchment paper, leaving overhang on the sides to create "handles." This makes removal effortless and ensures clean cuts. Lightly butter the parchment—this prevents any sticking and helps create those beautifully crisp edges that contrast so wonderfully with the gooey center.
Combine Dry Ingredients
In a medium bowl, whisk together heat-treated flour, baking powder, and salt. This ensures even distribution of leavening agents and prevents any salty surprises. Set aside. The baking powder is minimal here—just enough to prevent the bars from being too dense while maintaining that characteristic cookie dough density.
Cream Butter and Sugars
Using a stand mixer with the paddle attachment, beat the cooled brown butter with both sugars on medium speed for 3-4 minutes. The mixture should look light and fluffy, almost like whipped cream. This incorporates air and ensures the sugar dissolves properly, preventing any graininess in the final bars. Scrape down the bowl twice during mixing.
Add Wet Ingredients
With mixer on low, add vanilla extract and heavy cream in a slow stream. Increase speed to medium and beat until fully incorporated, about 30 seconds. The mixture may look slightly curdled—this is normal and will smooth out when flour is added. The heavy cream replaces eggs, providing structure and richness while keeping the dough safe to eat.
Incorporate Flour and Chocolate
Add dry ingredients all at once. Mix on low speed just until no dry streaks remain. Overmixing develops gluten, making bars tough instead of tender. Remove bowl from mixer and fold in chocolate chips by hand with a rubber spatula. This prevents breaking the chips and ensures even distribution throughout the dough.
Press and Bake
Press dough evenly into prepared pan using your fingertips or the bottom of a measuring cup. The dough should be about ¾-inch thick. Bake at 325°F for 22-25 minutes. The center should still jiggle slightly when shaken—it will continue cooking from residual heat. Overbaking is the enemy of gooey bars! Let cool completely in pan on a wire rack.
Make the Chocolate Frosting
Beat softened butter on medium-high speed for 2 minutes until pale and fluffy. Add cocoa powder and beat on low until combined, then increase speed and beat for another minute. Add powdered sugar 1 cup at a time, alternating with heavy cream. Beat in melted chocolate until smooth and glossy. The frosting should be spreadable but hold its shape.
Assemble and Chill
Spread frosting evenly over completely cooled bars using an offset spatula. Create decorative swirls by lifting the spatula in a figure-8 motion. Refrigerate for at least 2 hours to set the frosting completely. This step is crucial—it allows the flavors to meld and makes cutting clean slices much easier.
Expert Tips
Perfect Temperature Control
Invest in an oven thermometer—most ovens run 25-50°F off. For gooey bars, even 10 degrees makes the difference between perfect and overbaked. If your oven runs hot, reduce temperature to 315°F and add 2-3 minutes to baking time.
The Waiting Game
Resist cutting bars until completely chilled. Warm bars will crumble and the frosting will slide off. For perfect slices, refrigerate overnight, then use a sharp knife dipped in hot water, wiping clean between cuts.
Chocolate Quality Matters
Skip the supermarket chocolate chips and visit a specialty store. Look for chocolate with cocoa butter as the first ingredient, not palm oil. The difference in flavor and texture is immediately noticeable.
Frosting Fix
If your frosting is too soft, refrigerate for 15 minutes then re-beat. Too stiff? Add cream 1 teaspoon at a time. The perfect consistency is like whipped butter—spreadable but not runny.
Storage Savvy
Store bars in an airtight container with parchment between layers. They'll stay fresh for up to 5 days refrigerated or 3 months frozen. Actually, they taste better on day two as flavors meld!
Flavor Boost
Add ½ teaspoon espresso powder to the frosting—it intensifies chocolate flavor without making it taste like coffee. Or try ¼ teaspoon cinnamon in the cookie base for warmth and complexity.
Variations to Try
Chunky Monkey Version
Fold in ½ cup chopped toasted walnuts and ½ cup dried cherries with the chocolate chips. Top frosting with crushed banana chips. The sweet-savory combination is addictive!
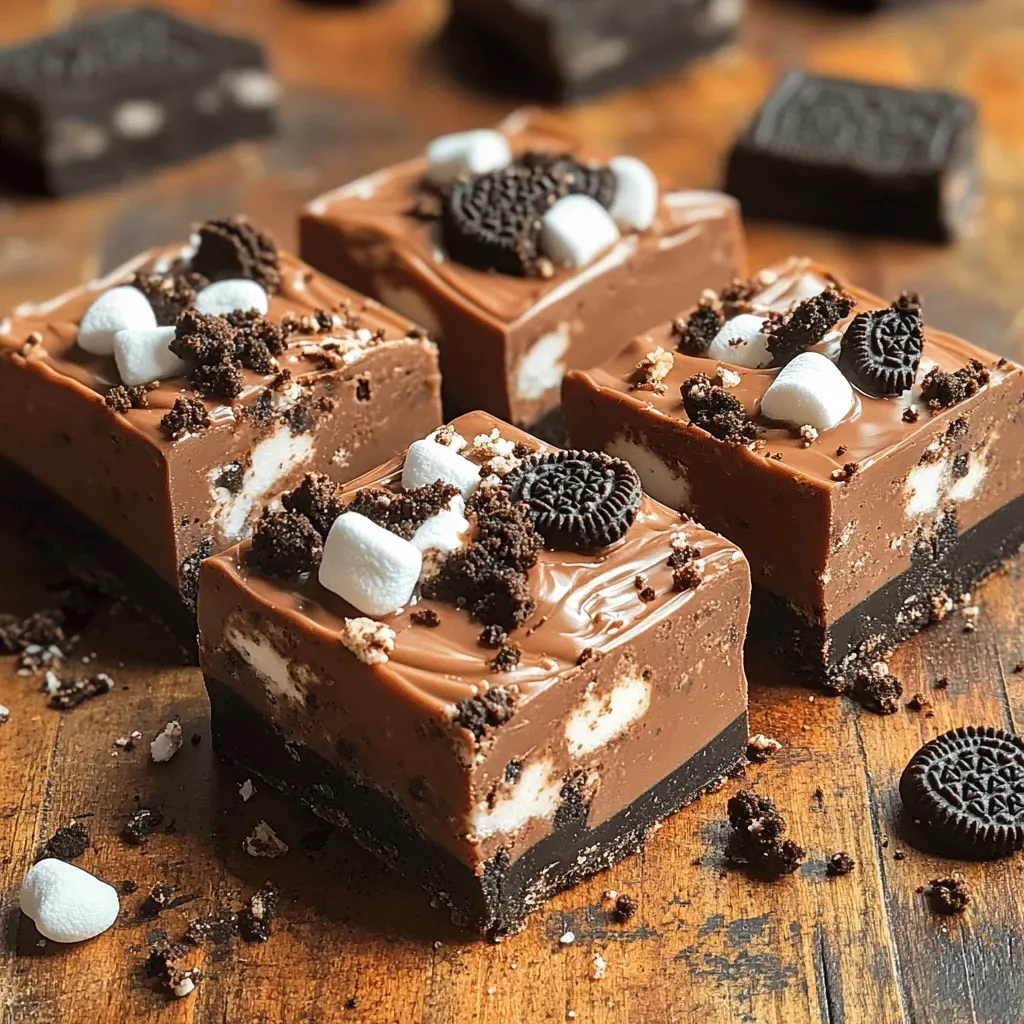
S'mores Edition
Replace half the chocolate chips with mini marshmallows and crushed graham crackers. Torch the frosting lightly for that campfire flavor. Kids go wild for this version!
Salted Caramel Swirl
Drizzle ¼ cup thick caramel sauce over frosting and swirl with a toothpick. Sprinkle with flaky sea salt. The sweet-salty combination makes these impossible to resist.
Mint Chocolate Dream
Add ½ teaspoon peppermint extract to the cookie base and use mint chocolate chips. Tint the frosting pale green with natural food coloring for a festive touch.
Storage Tips
These bars are incredibly make-ahead friendly, which makes them perfect for entertaining. Here's everything you need to know about keeping them fresh and delicious:
Refrigeration (Recommended)
Store bars in an airtight container in the refrigerator for up to 5 days. The cold temperature helps maintain the perfect texture—gooey center with firm frosting. Bring to room temperature for 15-20 minutes before serving for the best flavor and texture. The chocolate flavor actually intensifies after day two as the ingredients meld together.
Freezing Instructions
These bars freeze beautifully for up to 3 months. Cut into squares, wrap individually in plastic wrap, then place in a freezer-safe container with parchment between layers. Thaw overnight in the refrigerator, then let sit at room temperature for 30 minutes before serving. The texture remains perfect—no one will know they were frozen!
Make-Ahead Magic
The cookie base can be baked up to 2 days ahead, wrapped tightly and stored at room temperature. Frost up to 24 hours before serving. For the freshest presentation, add any decorative toppings (sprinkles, chocolate shavings, etc.) just before serving. This makes entertaining stress-free!
Frequently Asked Questions

Gooey Chocolate Chip Cookie Dough Bars with Chocolate Frosting
Ingredients
Instructions
- Brown the butter: Melt 1 cup butter in a saucepan over medium heat until golden-brown specks form and nutty aroma develops, 5-7 minutes. Pour into bowl and cool 15 minutes.
- Prepare pan: Line 9×13-inch baking pan with parchment paper, leaving overhang. Butter the parchment.
- Mix dry ingredients: Whisk together flour, baking powder, and salt in medium bowl.
- Cream butter and sugars: Beat cooled brown butter with both sugars until light and fluffy, 3-4 minutes.
- Add wet ingredients: Mix in vanilla and heavy cream until combined.
- Combine and add chocolate: Add dry ingredients and mix just until combined. Fold in chocolate chips.
- Bake: Press dough into prepared pan. Bake at 325°F for 22-25 minutes until center still jiggles slightly. Cool completely.
- Make frosting: Beat ¾ cup butter until fluffy. Add cocoa powder, then powdered sugar alternating with cream. Beat in melted chocolate.
- Frost and chill: Spread frosting over cooled bars. Refrigerate 2 hours before cutting into squares.
Recipe Notes
For clean cuts, chill bars thoroughly and use a hot knife, wiping clean between cuts. Bars stay fresh refrigerated for up to 5 days or frozen for 3 months. The flavor actually improves on day two!